Guitar Building

2008: [Repainting my old campfire guitar and making it fretless] [Wooden Box Guitar] [Biscuit Tin Guitar]
2007: [Soundhole Templates] [May Queen] [Fuzz Face] [Rewiring my guitar]

<<<

2008
February
Repainting my old campfire guitar and making it fretless

This guitar started out as a cheap brownish Spanish guitar in the mid-nineties. As it went from popfestival to popfestival, from hot and dry to cold and wet weather, got spray painted black and generally abused, it ended up looking like the first image. When I took that picture, the stickers, frets, pegs, bridge and nut were already removed.

After that, I used some pretty nasty and aggressive substance (of which I do not know the name in English and I'm too lazy to look it up) to remove the spraypaint and the lacquer underneath. It took multiple sessions to complete. The pictures are from somewhere in the middle of that process.

Now that the paint and lacquer was more or less successfully removed, I filled up the fretslots with wood plaster and used a LOT of sandpaper to smooth the fretboard and the rest of the guitar. I started out with a grit of 50, working slowly towards 400.

After sanding the whole guitar, it was time to put on two layers of primer, two layers of night blue lacquer and two layers of white lacquer on the fret(less)board. Add a few dots for ease of playing and it's done. The flashlight of my camera shows the blue not being as smooth as I thought it was. Under normal circumstances (daylight or lightbulbs) that's not visible.


Wooden Box Guitar

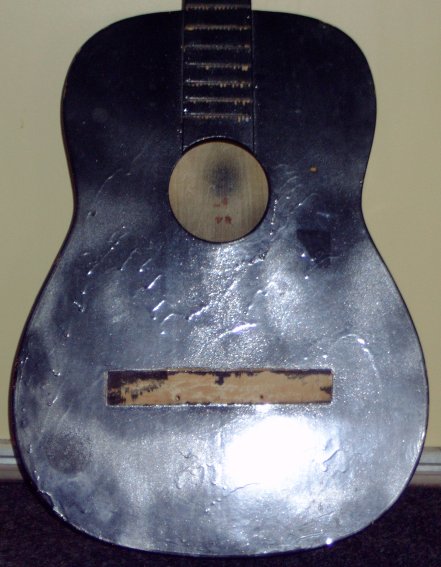
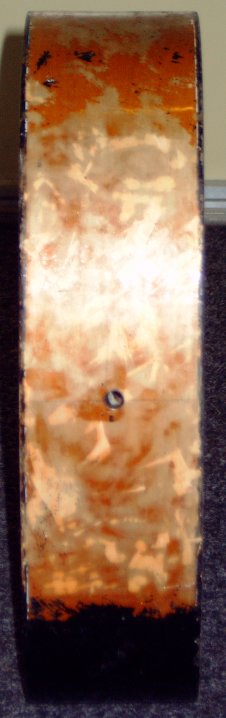
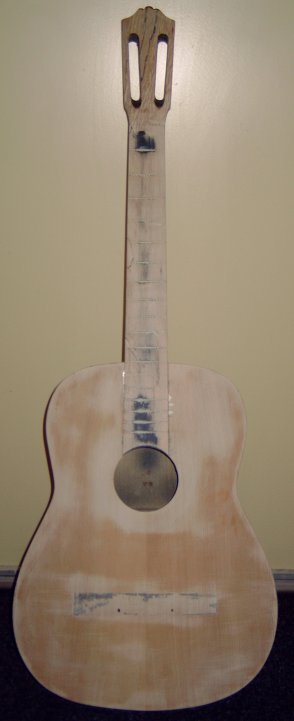
In September/October last year, I built my second guitar out of plywood. The body is a cuboid of size 30 cm x 20 cm x 10 cm. Before glueing it together, I cut out two soundholes (Dell'Arte Swing 1942 shape, see September 2007 below) and sanded it 
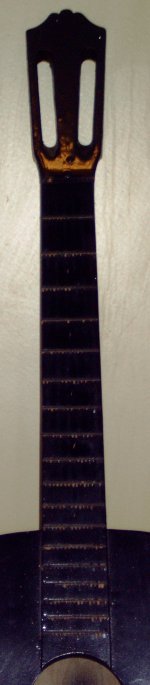
with fine grit sandpaper. The neck is made of pinewood and the fretboard is another piece of plywood glued on top of it and sticking out across the body. Both the nut and the bridge where also sawn out of plywood.

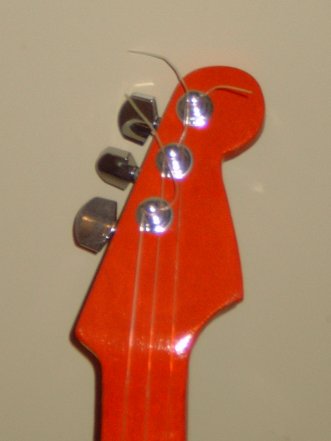
I replaced the headstock several times (I was experimenting and had no clear design upfront) and finally stuck with this rescaled Fender replica. It's made of three layers of triplex (plywood) glued together.
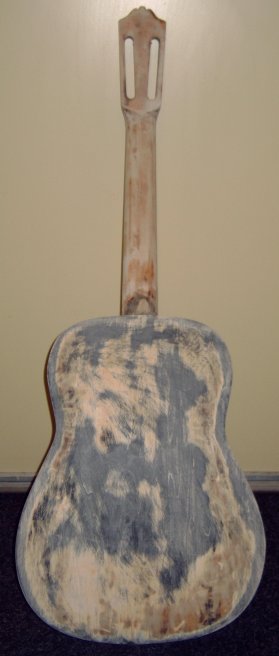
The back of the neck was sanded for hours with half a piece of plastic pipe covered with sandpaper on the inside to get a rounded shape. It goes right through the body and sticks out at the other end, the same way traditional cigar box guitars were made.

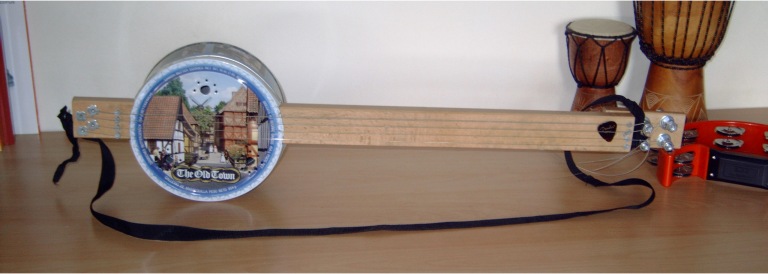
The distance between the nut and the bridge turned out to be 79 cm which is quite long for a guitar. It's actually somewhere between a normal guitar (~65 cm) and a bass guitar (~89 cm). To avoid extremely high tension on the strings and neck, I wired it up with nylon G-B-E strings, but tuned it to E-A-D instead (sometimes D-A-D which gives a nice drone). That way, the lowest string sounds like a normal D string on the second fret.

The red lacquer was applied with a brush. The fretboard, the nut and the bridge were covered with four layers of transparent wood stain, which seems to be not that transparent after four layers :)

I used real fretwire (medium sized) for the frets and simple stickers for the dots. All in all, it turned out quite nicely and plays smoothly. Some things are clearly wrong (the neck is too long, the headstock is too far away from the nut, et cetera) but I have learned a lot along the way, so hopefully my next experiment will turn out even better.

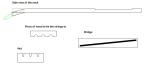
I did not take any photographs during the build stages, but I made a few quick sketches afterwards in case somebody wants to try build their own.


Biscuit Tin Guitar

This was my first attempt at building my own guitar. I used an old biscuit tin and the neck used to be part of a bed bottom. Both the bridge and the nut are four screws. The tuning pegs are normal 8mm bolts with a small hole drilled into them. It worked pretty well. I even put in a piezo-element. Pictures are from July, 2007. It had no frets yet. Later on I added a few strategic frets so I could more easily play the blues. The neck was sturdy enough to be wired with steel strings.


2007
September
Soundhole Templates

I copied several soundholes with Inkscape, which can be used if you want to build your own (cigar box) guitar, to give it that final touch. The thumbnails link to a larger image. You can print it on a normal sized sheet of white paper, glue it on the inside of the wood you want to cut and start cutting :) I recommend to use spray glue and leave it to dry for 20+ minutes before sticking it to the wood. That way, it can be easily removed, without leaving any visible marks.


Dell'Arte Swing 1942

Strobel Cello

Rickenbacker 360V64

Gibson ES

Tacoma Paisley Shaped

Jim Soloway E081V2

August
May Queen


This is what my May Queen looks like. It's a schematic from the wonderful Run Off Groove. I made some small modifications, but did not draw my own schematic yet. Perhaps later.


Fuzz Face


Here's how I built my Fuzz Face. It's not perfect (it can still leak current when fuzz is on and it's plugged in) but it sounds pretty nice. Perhaps I'll add a power switch later.

July
Rewiring my guitar


Recently, I rewired my old trusty Vantage Purple Rain guitar, to be able to switch all sorts of exotic pickup combinations. It has on/off-switches and phase-switches for each pickup, a series/parallel-switch (switches bridge parallel to the middle and neck pickups) and a treble bleed switch. The schematic also includes better AC protection and proper shielding.

<<<


Valid HTML 4.01 Strict